Recognize the startup pattern
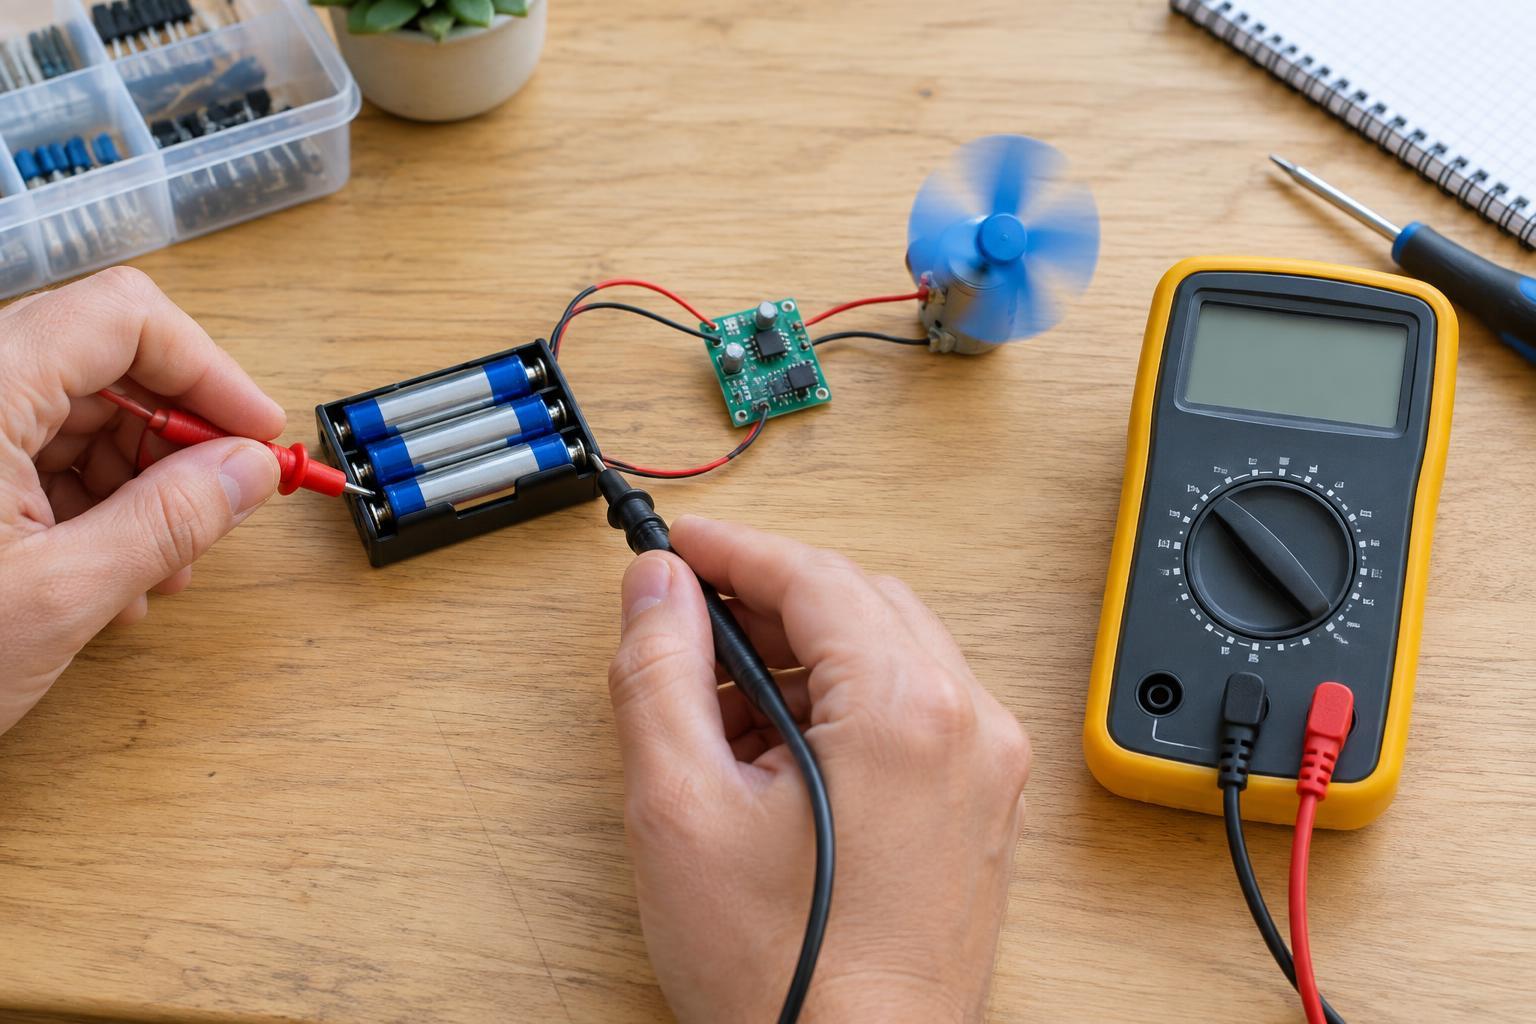
A battery-powered project can work normally at rest, then reset the moment a motor turns, a radio transmits, or a display lights up. An LED may briefly dim, a microcontroller may restart, or a motor may twitch without reaching speed. These symptoms can point to voltage sag: the supply voltage falls when startup demand increases, then recovers as the demand eases. They do not, by themselves, prove that the battery is faulty.
Start by noting exactly what changes just before the problem. Does the reset happen only with a particular load attached? Does it disappear when the motor is disconnected? Does a fresh battery behave differently? Repeating one startup action at a time gives you a more useful clue than changing several components at once. Keep this investigation to low-voltage, battery-powered circuits you understand; do not open mains-powered equipment to follow these steps.
Measure voltage while the load starts
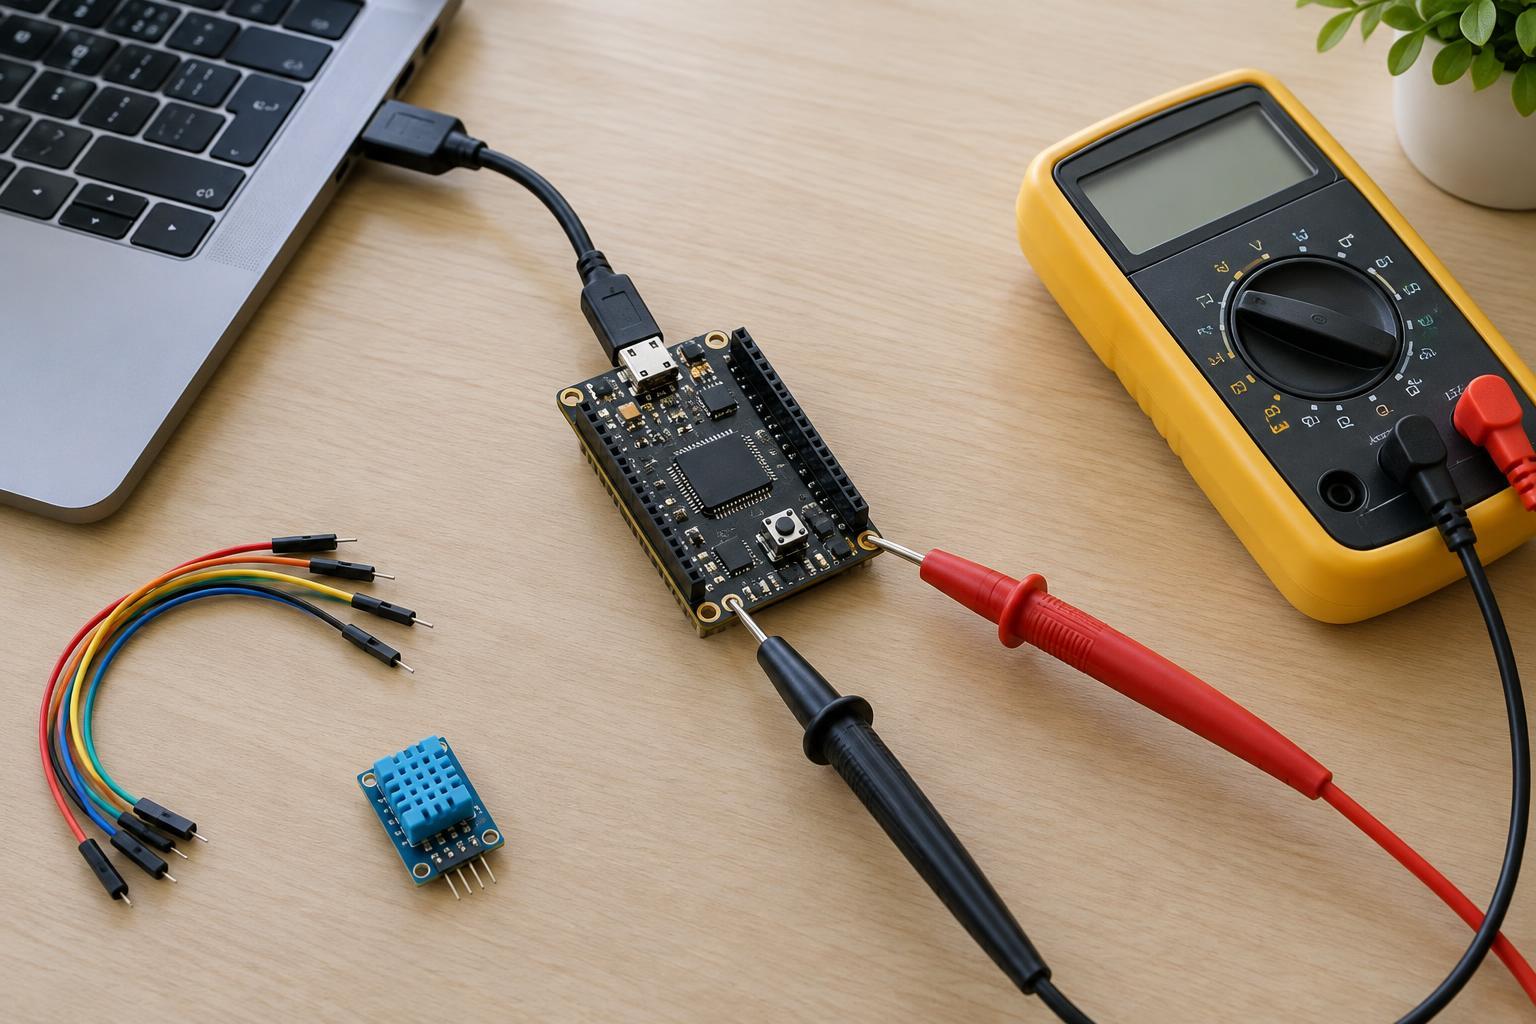
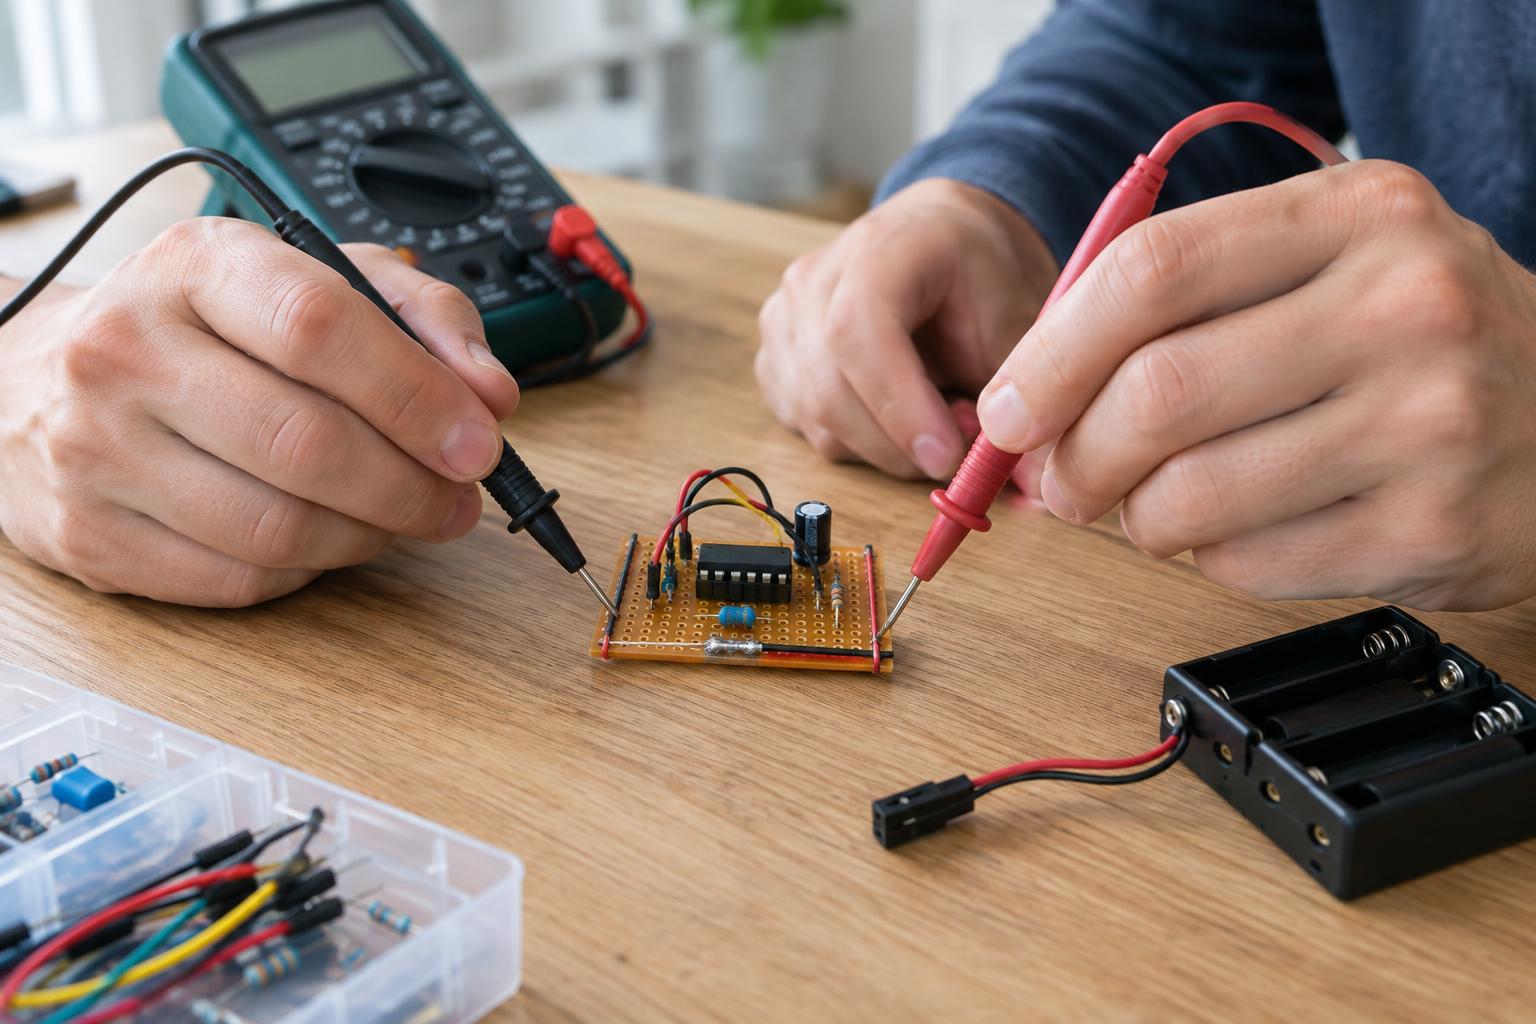
Measure the battery voltage first with the project idle, then again while triggering the troublesome startup. Put the multimeter probes across the battery terminals so you are measuring the battery itself. Next, repeat the measurement at the project’s power input, with the probes on the positive and return connections that feed the board. A much larger drop at the board than at the battery suggests resistance somewhere in the path between them.
An ordinary multimeter may miss a very brief dip because its display updates slowly. If it has a min/max capture feature, that may help, though it still may not catch the shortest events. A visible dimming LED or repeated reset can remain useful evidence even when the displayed voltage looks steady. Record the readings and the conditions under which you took them. Compare measurements made during the same startup action rather than comparing an idle reading with a loaded one.
Separate battery limits from connection losses
Every battery has some internal resistance, so its terminal voltage can fall as current demand rises. The amount depends on the battery chemistry, size, state of charge, condition, and temperature. A small battery that runs a sensor comfortably may struggle with a motor’s initial demand. If the voltage drops substantially right at the battery terminals, check that the battery type and arrangement suit the load. A higher voltage reading with the project switched off does not establish that the battery can supply the needed startup current.
If the battery terminals stay relatively steady but the voltage at the board falls, inspect the route between them. Loose holders, dirty contacts, thin or long wires, worn switches, and poorly seated connectors can all add resistance. With power removed, reseat connectors and look for damaged insulation, strained joints, or contacts that no longer grip firmly. Then measure again under load. For a replaceable battery, trying a known-good battery of the same appropriate type can also help distinguish battery condition from wiring trouble.
Check what happens after the power input
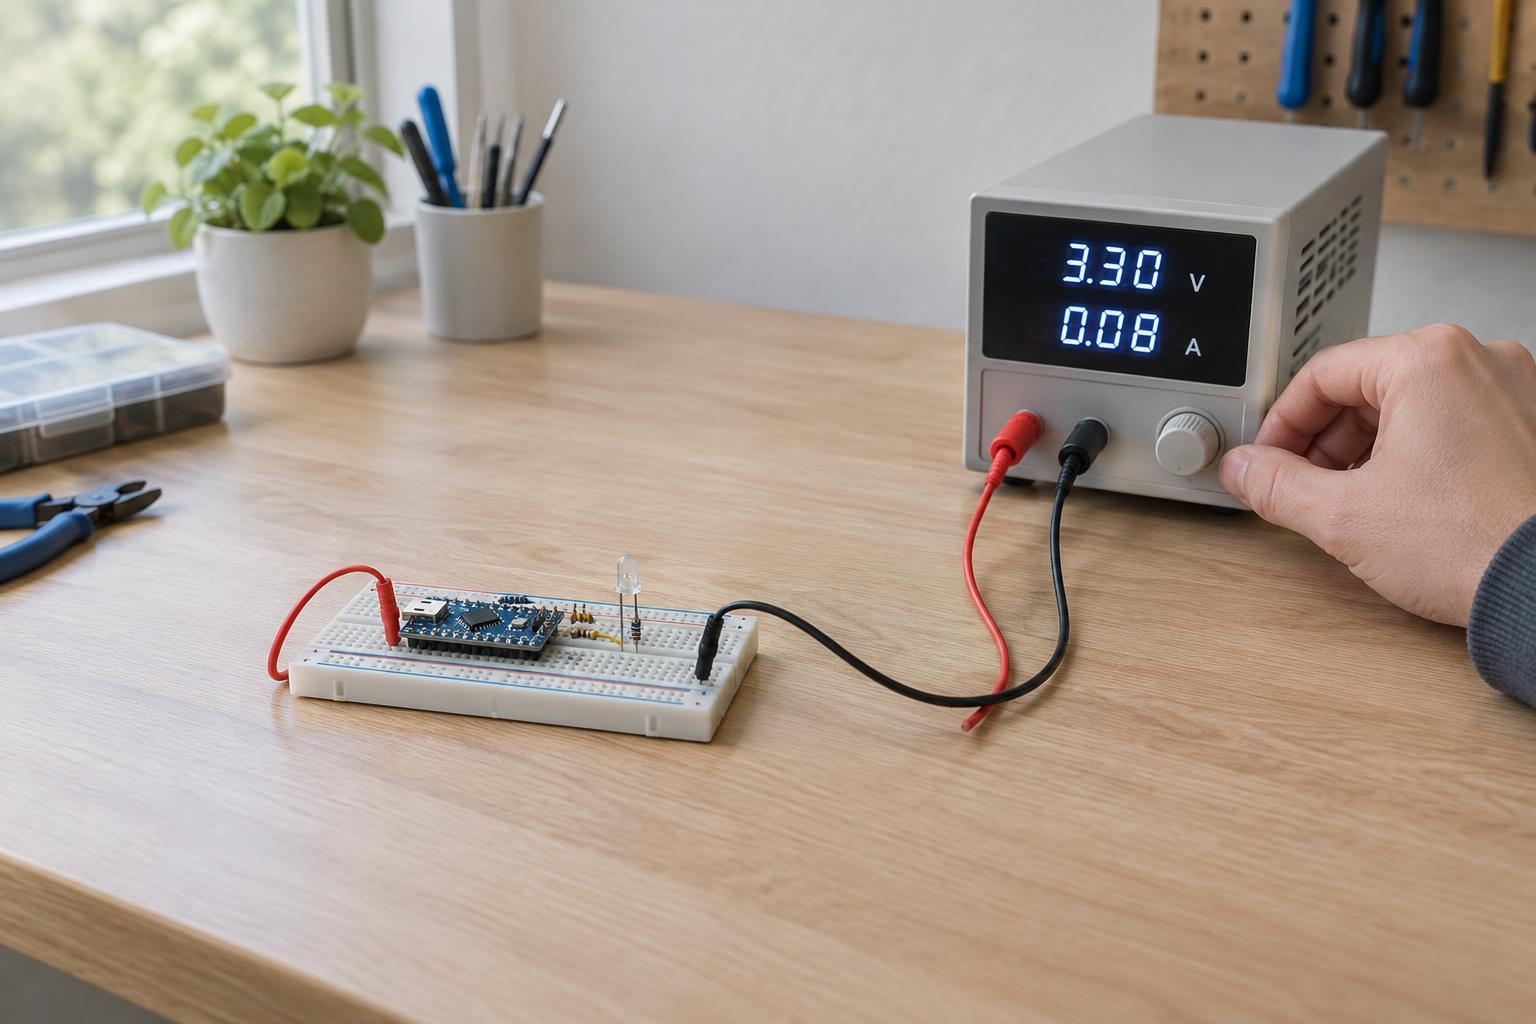
A stable voltage at the board’s input does not guarantee a stable voltage at the microcontroller or sensor. If the project uses a voltage regulator, measure its output during startup as well. Some regulators cannot maintain their output when their input falls too close to the required output voltage. Others may be limited by the current they can provide or by their surrounding circuit. Consult the parts’ specifications before substituting a regulator, battery, or capacitor; a component with the wrong voltage rating or polarity can create a new fault.
Startup loads may also disturb other parts of a shared supply. A motor, for example, can draw a large initial current and produce electrical noise while it runs. Appropriate local decoupling capacitors and sensible wiring can help with short disturbances, but a capacitor is not a substitute for a battery that cannot support the load. Keeping high-current load wiring from sharing a long, narrow return path with sensitive electronics may reduce unwanted voltage drops. If you change the wiring, make one change at a time and retest the same startup action.
Choose a fix that matches the measured cause
Use the location of the voltage drop to guide the repair. A drop at the battery may call for a suitable battery with better current capability or a reduction in startup demand. A drop along the wiring may call for sounder contacts, shorter runs, or wire sized for the expected current. A drop only on a regulated rail calls for checking the regulator’s input range, output capability, and supporting components. Staggering loads so they do not all switch on together may also help when the project design allows it.
Avoid bypassing protection, shorting a battery to test its strength, or placing a multimeter set to current mode directly across a battery. Current measurements require the meter to be connected in the circuit path and its range and fuse to be suitable; if you are unsure, stick to voltage measurements. Stop if a battery or wire becomes unusually hot, swells, leaks, or smells abnormal. Once the project starts reliably, test it again as the battery discharges so the fix works beyond a single fresh-battery trial.