Start with what the project needs to do
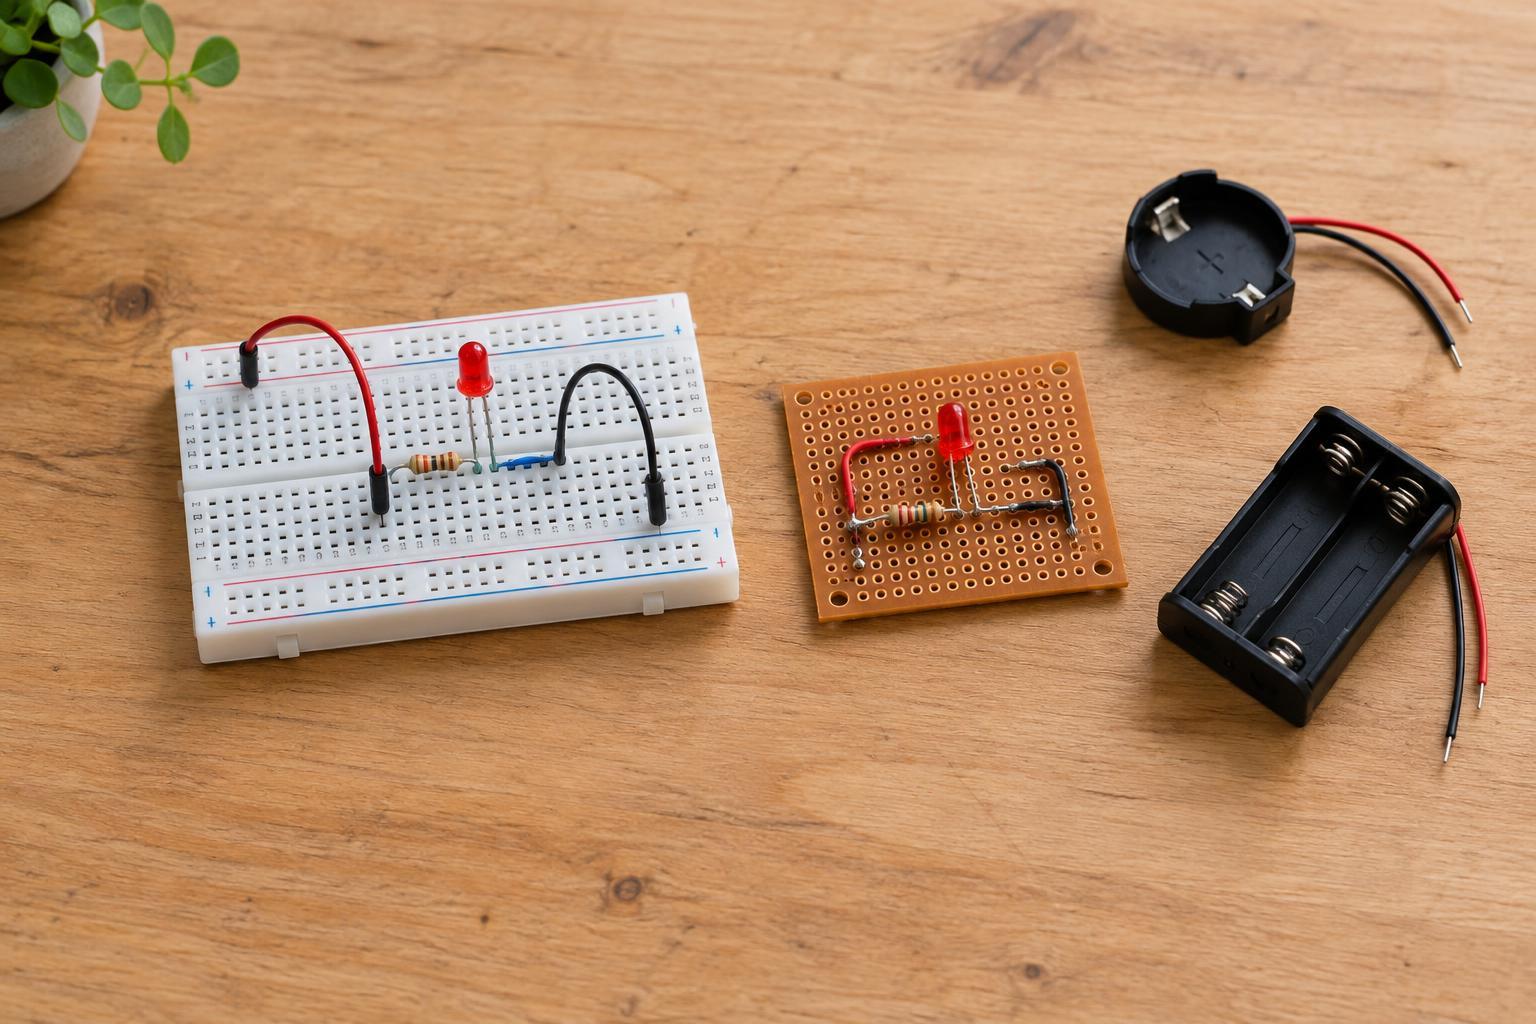
A breadboard and a perfboard can hold many of the same components, but they serve different stages of a project. A solderless breadboard is a reusable test surface: its internal metal clips connect groups of holes, so you can insert wires and parts without solder. Perfboard is a board with a regular pattern of holes, usually with individual copper pads. You solder components in place and make the intended connections with wire, solder bridges where appropriate, or another planned method.
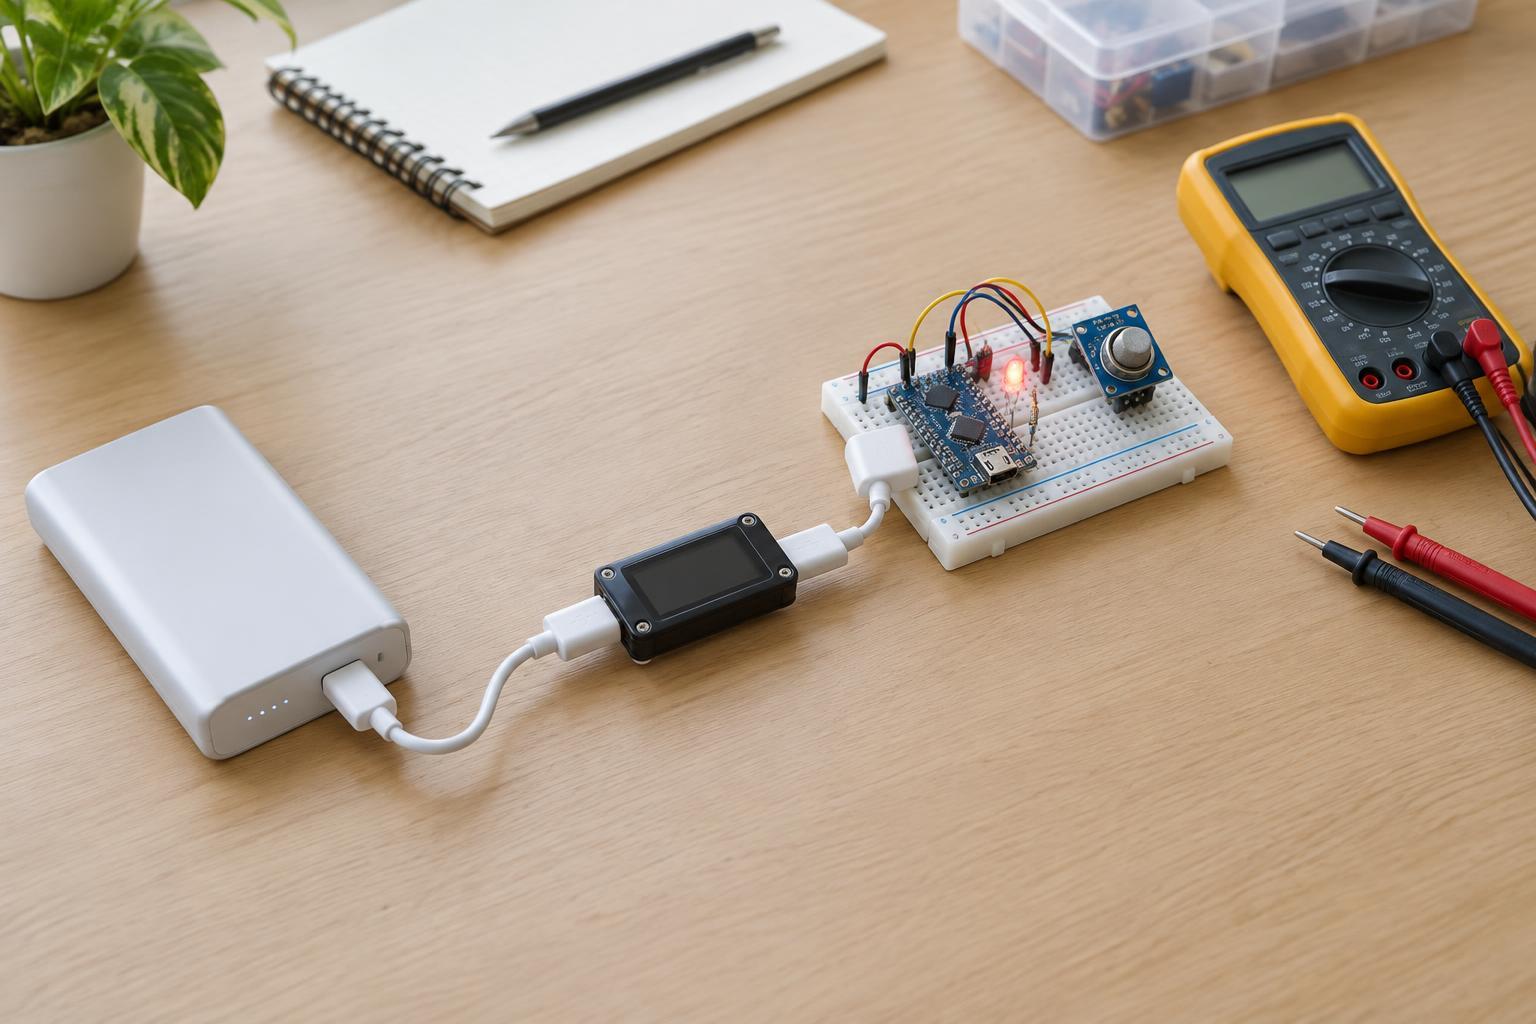
For a small 3–5 V project, ask whether you are still discovering the circuit or building something you expect to keep. An LED indicator, button input, or sensor experiment often belongs on a breadboard first. If the design works reliably and needs to survive handling, perfboard may be the better next step. Neither board makes an unsafe power source safe: keep this kind of beginner project on a suitable low-voltage battery pack or an isolated, current-limited supply, not a direct mains connection.
Choose a breadboard when changes are likely
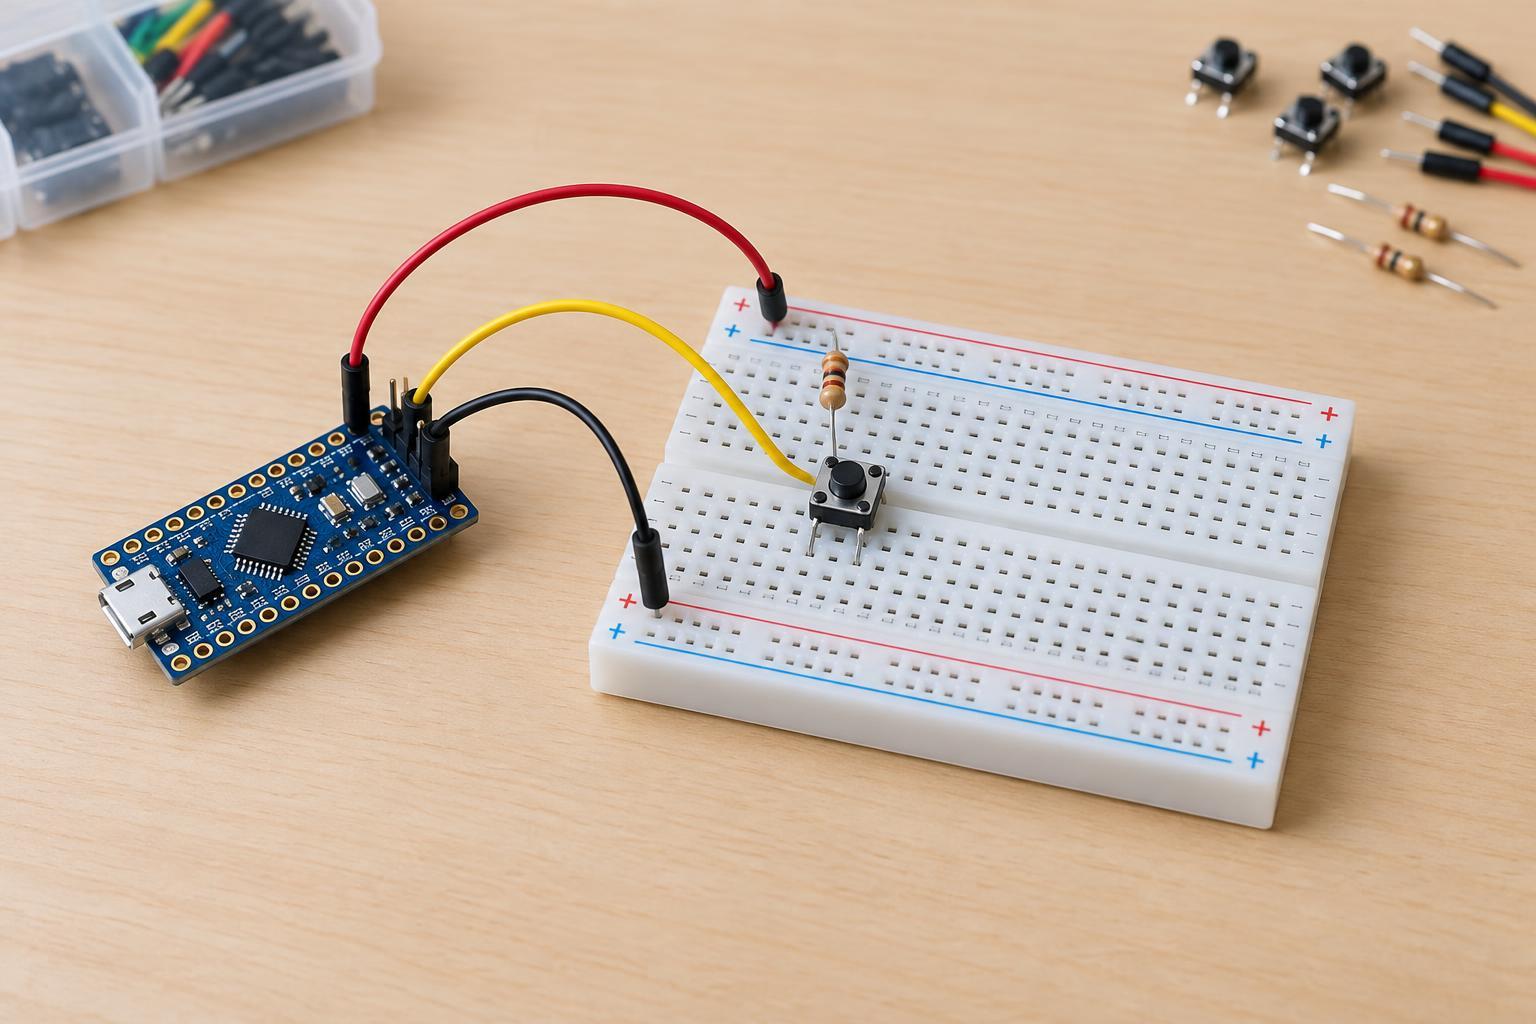
A breadboard is useful when you want to swap a resistor, move a sensor lead, or compare two ways of arranging a circuit. It also leaves components available for another project. Before inserting parts, check the breadboard’s connection pattern. Many boards have connected rows in the middle and long power rails at the sides, but some rails are split partway along their length. A split rail will not carry power across the gap unless you add a jumper.
The trade-off is that clip connections can loosen, jumper wires can be pulled out, and a crowded board becomes hard to inspect. A circuit that works only when you press on a wire is not ready to copy onto perfboard; find the poor connection first. Breadboards are best kept on a stable surface, away from loose metal objects. They are not a good choice for a wearable or frequently moved device, or for loads that draw more current than the board and its connections are designed to handle.
Choose perfboard when the circuit is settled
Perfboard is a reasonable choice once the component values, pin assignments, and basic layout have been tested. Soldered connections are less likely to shift during ordinary handling, and the assembly can be mounted in an enclosure. Perfboard does not automatically connect neighboring holes, however. Check which type you have: a board with isolated pads needs each connection made deliberately, while a board with connected strips follows a different layout plan.
The cost of that stability is less flexibility. Removing a soldered part can damage a pad, and a wiring mistake may take time to locate. Leave space around connectors and parts you might need to replace. Give any cable that leaves the board strain relief so a tug does not pull on a solder joint. Perfboard is not a substitute for an enclosure when exposed connections could be touched or shorted.
Plan the transfer before soldering
Do not try to copy a breadboard hole for hole. First, draw a simple circuit diagram showing each component and the connections between its pins. Label the positive supply and ground, and check polarity-sensitive parts such as LEDs and some capacitors. Then sketch a perfboard layout with short, easy-to-follow routes. Put related parts near one another, but leave enough room to inspect each joint. Mark the board orientation so you do not accidentally reverse the layout when viewing its copper side.
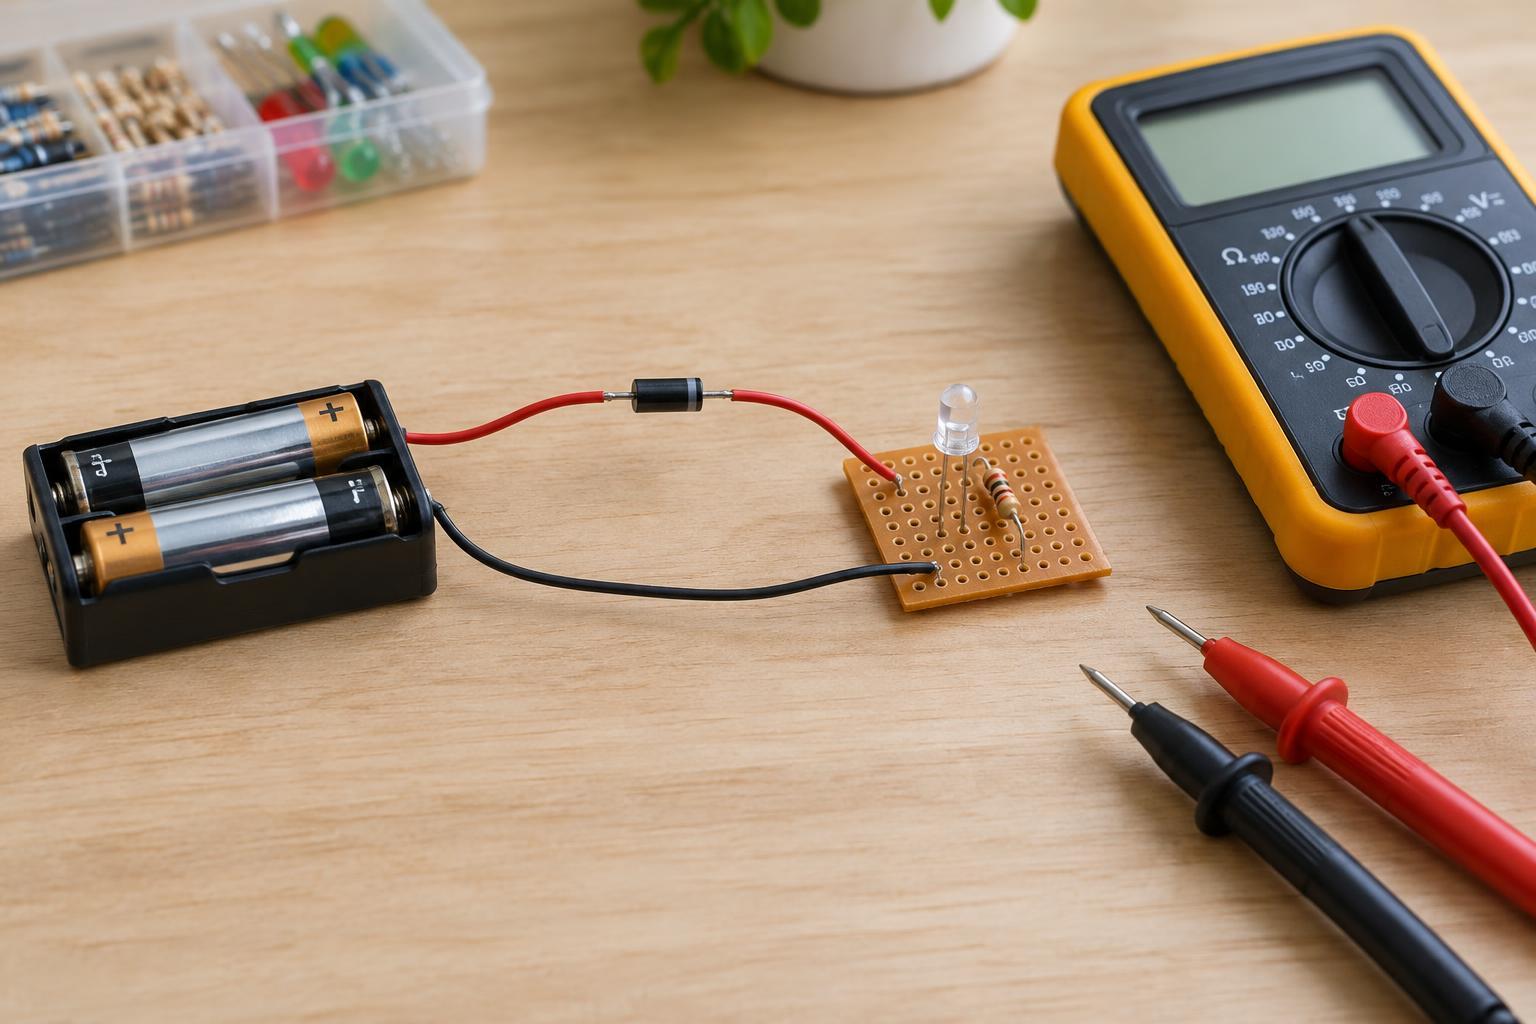
Build in small groups rather than soldering everything at once. With power disconnected, check for unintended connections between supply and ground and verify that each planned connection reaches the correct pad. A continuity tester can help, provided you understand that it cannot tell you whether the circuit design itself is right. On the first power-up, use a suitable current-limited supply if available. If a part becomes unexpectedly hot or the circuit behaves oddly, disconnect power and inspect the wiring.
Keep the project within safe, manageable limits
A 3–5 V circuit is a good place to learn assembly, but voltage alone does not describe every risk. Large motors, heaters, damaged batteries, and supplies capable of high current need considerations beyond a simple breadboard-to-perfboard exercise. For a first build, choose modest loads and follow the ratings and polarity markings of the parts and supply you use. Do not connect a low-voltage board directly to mains wiring or open a mains-powered device to power it.
If you move to perfboard, solder on a clear, heat-resistant surface with ventilation, eye protection, and a safe place for the hot iron. Disconnect the supply before making changes. Whichever board you choose, keep a diagram and note what you changed during testing. That record is often more useful for troubleshooting than a tidy-looking board: it lets you check the circuit you intended against the connections you actually made.