Start with a safe source
Screws from a retired AA- or AAA-powered device can be handy when repairing a similar case or assembling a low-voltage project. Reusing them saves a trip for a small part, but it does not make every screw interchangeable. Thread shape, length, head size, and the material receiving the screw all affect whether it will hold securely.
Limit collection to devices you can safely handle with the batteries removed. Do not open mains-powered equipment, sealed lithium battery packs, or devices with parts that may retain a hazardous charge just to recover hardware. Set aside screws that are rusty, bent, or have damaged heads. A screw that is difficult to remove is unlikely to become a reliable fastener elsewhere.
Sort by more than appearance
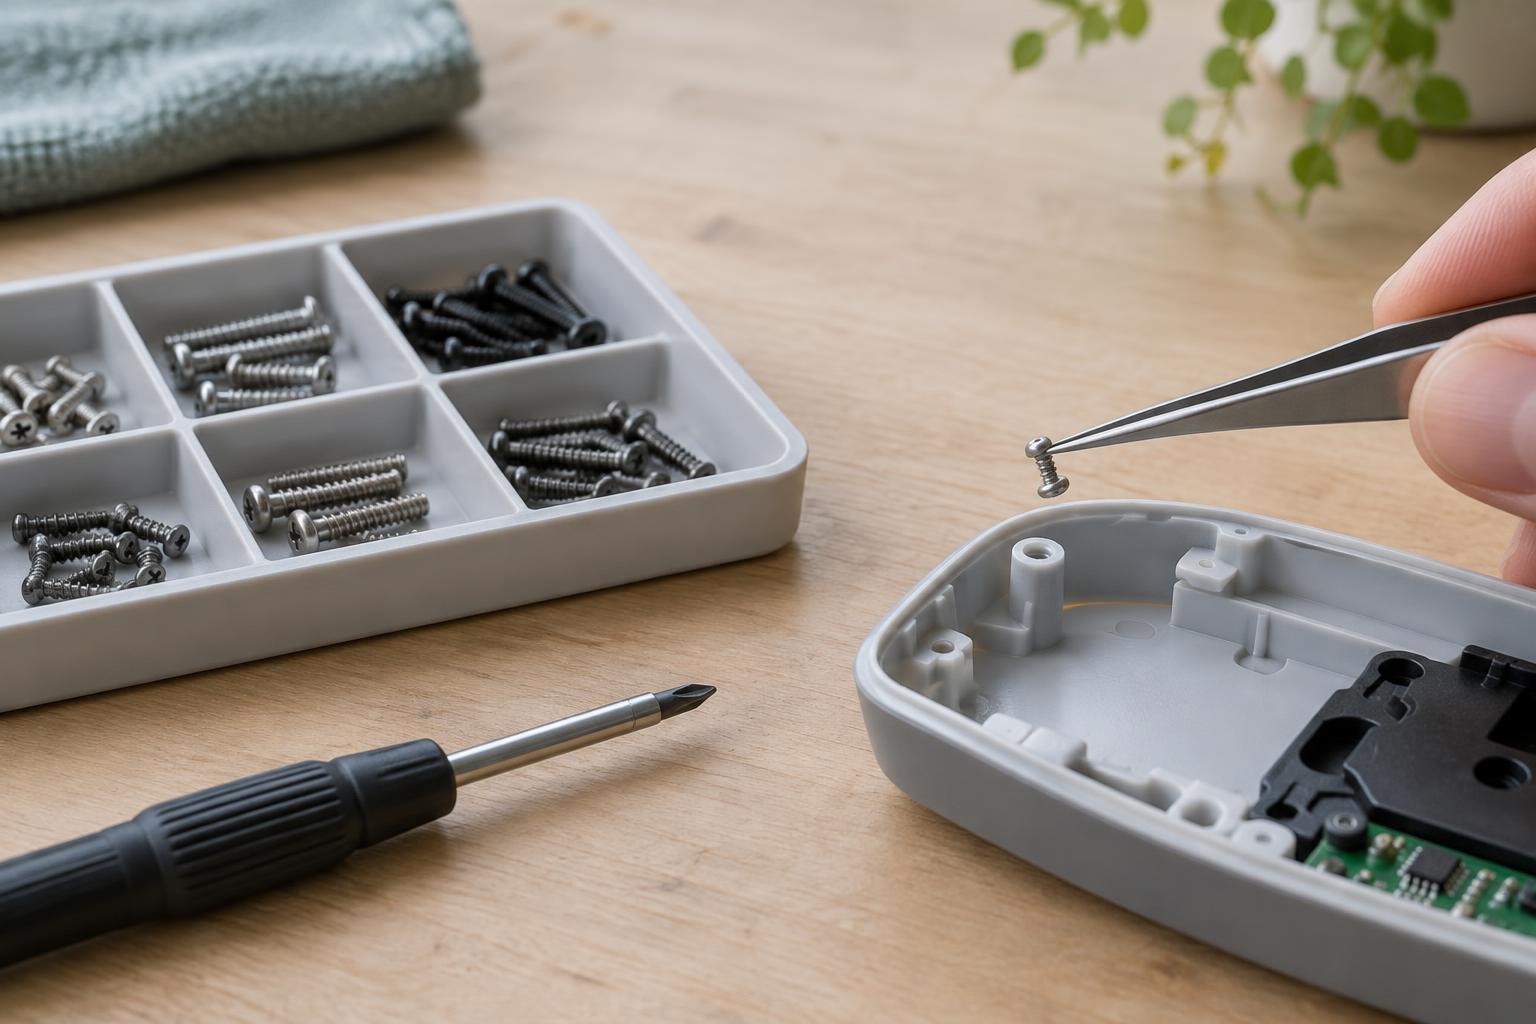
Place recovered screws in small groups and compare them side by side under good light. Note their overall length, the threaded portion, the width and spacing of the threads, and the shape of the tip. Also compare heads: a wide head may clamp a case tab properly where a narrow one would pull through. A screw intended for a metal insert may have finer threads than one designed to bite into a plastic post.
Keep any screw with its original case if that case may be reassembled. For loose spares, a labeled container or a piece of card with separate compartments helps prevent near-matches from getting mixed together. If you cannot confidently distinguish two types, do not treat them as equivalent. A screw that begins to turn in a hole is not necessarily the right screw for it.
Check the hole before tightening
Inspect the receiving post or insert before trying a salvaged screw. Cracks, missing plastic, or a visibly enlarged hole suggest that the joint may not hold. Check depth as well: a screw that bottoms out before its head reaches the case can split a post or leave the case loose. In a through-hole, make sure the tip will not reach wiring, a circuit board, or another part when the case is closed.
When returning a screw to an existing plastic hole, start it by hand with a correctly fitting screwdriver. Turning it gently backward until you feel the thread settle can help it follow the path already formed in the plastic. Then turn forward with light pressure. If resistance rises sharply, the screw tilts, or the plastic begins to whiten or crack, stop and back it out. Do not use a powered driver to force a small screw into a plastic case.
Aim for a secure fit, not maximum tightness
Tighten only until the parts meet and the head holds them in place. Extra torque can strip the plastic thread even when the screw is the correct size. If several screws secure a cover, start them all loosely before tightening them in stages; this gives the parts a chance to align. A cover that needs to be pulled into position by one screw may have a trapped wire, a misplaced tab, or a mismatched fastener.
After assembly, check for gaps, rocking, and protruding screw tips. If a screw spins without gripping, do not keep turning it or automatically substitute a larger one: the post may already be damaged, and a larger screw may split it. Choose a correctly sized replacement part or reconsider the mounting method instead. Salvaged screws are most useful when their fit can be checked without force and the finished joint stays secure under ordinary handling.